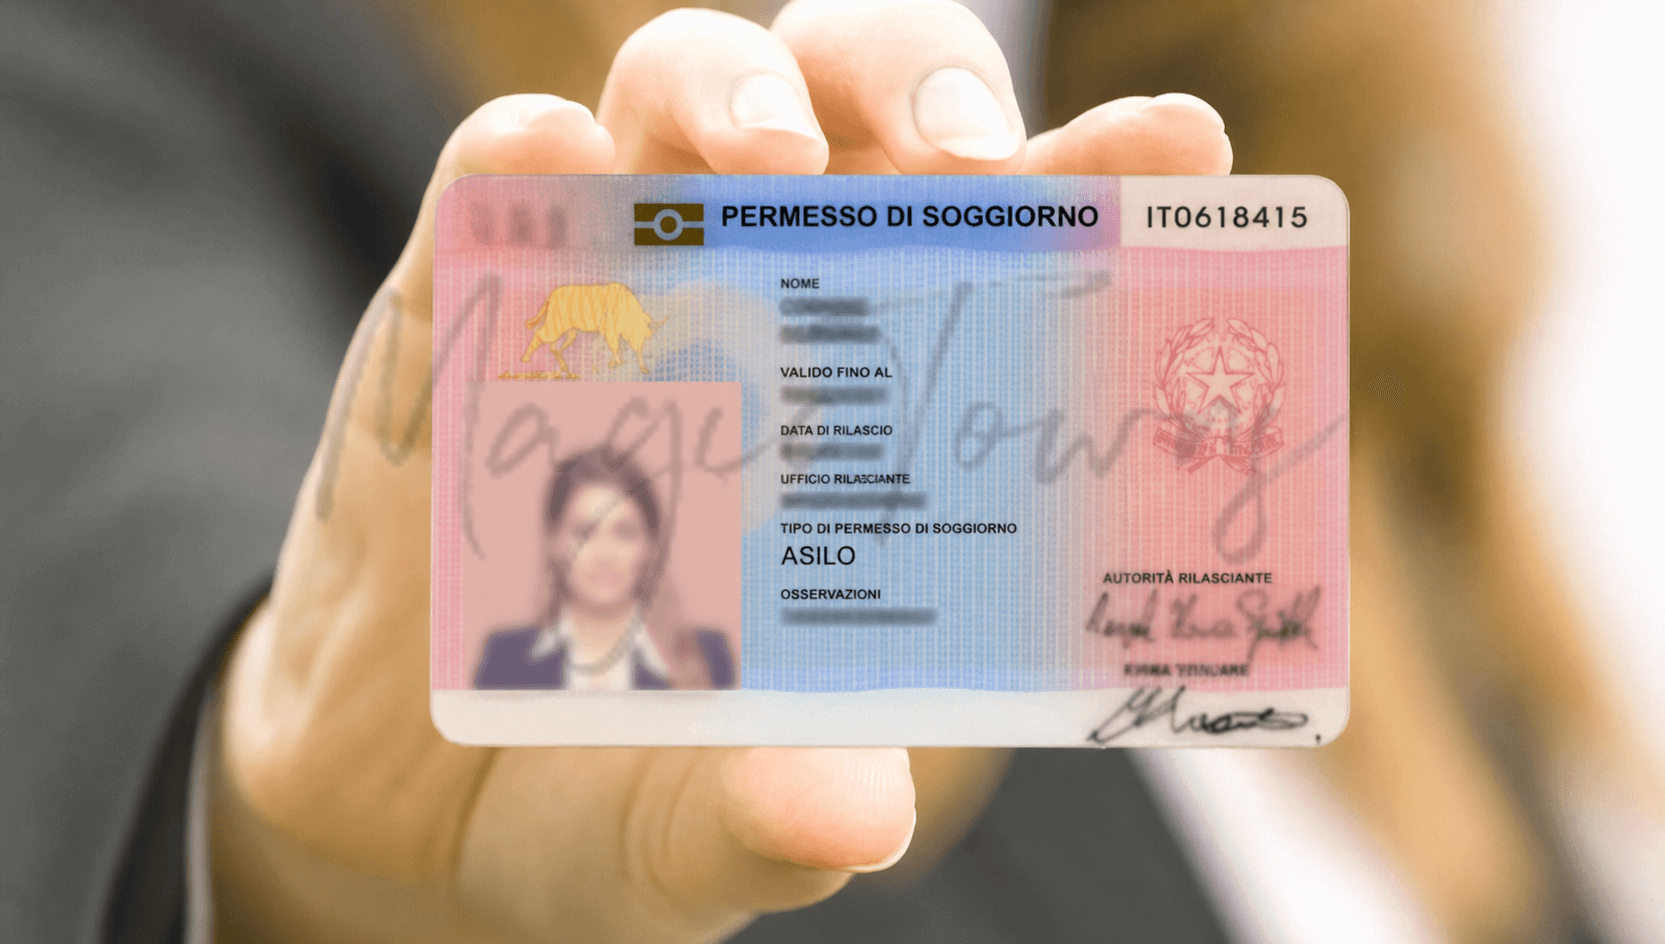
If you’re not from an EU country, you can’t just land in Italy and start living there. You need a residence permit – the permesso di soggiorno – and getting it requires a specific sequence of steps that starts before you even board the plane.
This guide covers the whole process: what visa to get first, what to do when you arrive, which documents to bring, and what to expect at the post office and immigration office.
First Things First: The Visa
A permesso di soggiorno isn’t something you apply for from scratch in Italy. It’s an extension of a long-stay visa (called a visto D or visto per soggiorno di lunga durata) that you get at the Italian consulate in your home country before you travel. In other words: no visa, no permit. The two are linked.
The most common visa types that lead to a residence permit are:
- Elective residence visa – for people who want to live in Italy and can support themselves financially without working in Italy (think retirees, people with passive income or investments)
- Work visa – requires a job offer from an Italian employer and a quota slot under Italy’s decreto flussi system
- Self-employment visa – for freelancers and business owners setting up in Italy
- Family reunification visa – if a family member already legally lives in Italy
- Student visa – for full-time academic courses (permits are shorter and tied to enrollment)
- Digital nomad visa – relatively new, for remote workers employed outside Italy earning above a set income threshold
Each visa type has its own income requirements, documentation, and waiting times. Apply at the Italian consulate or embassy in your country of residence, not in Italy.
 4")
Step 1: Arrive in Italy and Act Fast
Once you enter Italy on a long-stay visa, you have 8 calendar days to start your permesso di soggiorno application. This is not optional – missing this window is a legal violation, although in practice some delays may be tolerated if justified.
The application is submitted at a post office (ufficio postale) that accepts immigration paperwork, not directly at the immigration office (more on this below). However, some categories (such as asylum or certain special permits) are handled directly at the Questura.
Step 2: Get the Application Kit
Go to any post office that participates in the Sportello Amico network (most larger post offices do). Ask for the “kit per il permesso di soggiorno” – it’s a yellow envelope that contains the forms you need to fill out.
You can also download the forms from the official Italian government portal at portaleimmigrazione.it, but many people find it easier to get the physical kit at the post office and ask staff to help with any questions.
Step 3: Fill Out the Form
The form is called modello 1 (for most permit types). Fill it out carefully – mistakes or missing information slow everything down. You’ll need to include:
- Personal details (exactly as they appear on your passport)
- Your Italian address, because yes, you need one before applying. This can be your own rented or owned property, or a declaration of hospitality (dichiarazione di ospitalità) from someone who’s hosting you. Without an address, the application can’t proceed. This is one of the trickiest parts of the whole process. So if you’re wondering how to secure a lease from afar, no worries, we wrote a full, practical guide about it.
- The reason for your stay (it must match your visa type)
- Your entry date into Italy
Step 4: Gather Your Documents
The exact list varies depending on your visa type, but the standard documents required are:
- Your valid passport (original + photocopy of every page)
- Your long-stay visa (the one in your passport)
- The completed application form
- 4 passport-size photos
- Proof of address in Italy (rental contract, property deed, or hospitality declaration)
- Proof of sufficient financial means (bank statements, pension documents, employment contract — depending on your visa type)
- Health insurance coverage valid in Italy (required for some visa types)
- The postal receipt showing payment of the administrative fee
Fees: At the post office you’ll pay a fixed postal fee of around €30, plus a government contribution (contributo) that ranges from €80 to €200 depending on the permit type and duration. Payment is made at the post office when you submit the kit.
Step 5: Submit at the Post Office
Bring your completed form, all documents, and the fee to the post office. The staff will check the kit, stamp your application, and give you a receipt (ricevuta) with a reference number.
This receipt is important – keep it safe. It’s your proof that you’ve applied, and you may need to show it if you’re stopped by police or need to prove your legal status while waiting for the permit to be processed.
Note: the receipt allows limited travel rights. Generally, you can return to your home country and re-enter Italy, but travel within the Schengen Area may be restricted.
The receipt also shows the date and time of your appointment at the local Questura (immigration police office), which is the next step.
Step 6: Appointment at the Questura
Your post office receipt will include a date for an appointment at the Questura – this is the provincial police headquarters that handles immigration. The appointment is usually scheduled a few weeks to a few months after you submit your application at the post office. At the Questura, they will:
- Take your fingerprints
- Check your original documents
- Photograph you
- Verify the information in your application
Bring everything with you – your passport, visa, the post office receipt, and all the supporting documents you submitted. Some Questure also ask for additional documents at this stage, so it’s worth calling ahead or checking the specific Questura’s website for their local requirements.
After the Questura appointment, processing times vary a lot depending on which city you’re in. In cities like Rome or Milan, it can take 6–12 months or more. In smaller towns, it’s often faster. You can check the status of your application online at portaleimmigrazione.it using the reference number from your postal receipt. When the permit is ready, you’ll receive an SMS or you can check online, and you go back to the Questura (or sometimes the post office) to collect it.
 5")
How Long Does a Permesso di Soggiorno Last?
It depends on the visa and permit type:
- Elective residence: usually 1 year, renewable
- Work permit: tied to the employment contract (typically 1–2 years); but some categories (e.g. highly skilled workers) follow different rules
- Self-employment: usually 2 years
- Family reunification: typically 2 years
- Student: usually issued for 1 year; renewable annually based on academic progress
- Digital nomad: currently 1 year, but renewal rules are still being defined
All permits must be renewed before they expire. If your permit expires before you’ve started the paperwork, you’re technically in an irregular status. Give yourself at least 60–90 days before the expiry date – and the process follows a similar procedure to the original application, through the post office kit.
After 5 Years: Long-Term EU Resident Status
If you’ve lived legally in Italy for 5 continuous years, you can apply for the permesso di soggiorno UE per soggiornanti di lungo periodo – the EU long-term resident permit. This is a long-term (indefinite) residence status: the permit itself does not expire, although the physical card must be renewed every 5 years. It offers greater stability and allows facilitated (but not automatic) access to live and work in other EU countries, subject to their national rules.
Requirements include sufficient income, adequate housing, health coverage, and proof of integration.
This usually involves demonstrating Italian language knowledge at A2 level, although exemptions may apply depending on your qualifications or situation.
Useful Official Sources
If you need help navigating the process, we’re here. And for anything you want to verify yourself, the official sources are:
- Ministero dell’Interno (Ministry of the Interior): interno.gov.it
- Portale Immigrazione (official immigration portal): portaleimmigrazione.it
- Polizia di Stato (State Police, for permit status and Questura contacts): poliziadistato.it
Since immigration rules do change – visa categories, fee amounts, required documents – always cross-check with the official portal or your local Questura before you submit anything.
This article is for informational purposes only and does not constitute legal advice. For your specific situation, always verify the latest requirements with your local Questura or a qualified immigration lawyer before you apply.
Was this helpful?


 Possible? 6")

